Image Settings
In some scenes, you can easily change the images and videos on the panels installed in the scene from the management screen.
Open the Settings Screen
-
Sign in to your account on the CYZY SPACE management screen. (For how to sign in to your account, see here)
-
Click View Detailed Settings for the room you want to change.
-
Select the Image Settings tab.

-
A list of items that can be replaced with images according to the specified scene will be displayed.
Update Method
There are two ways to set images and videos.
- Upload a file
- Specify a reference
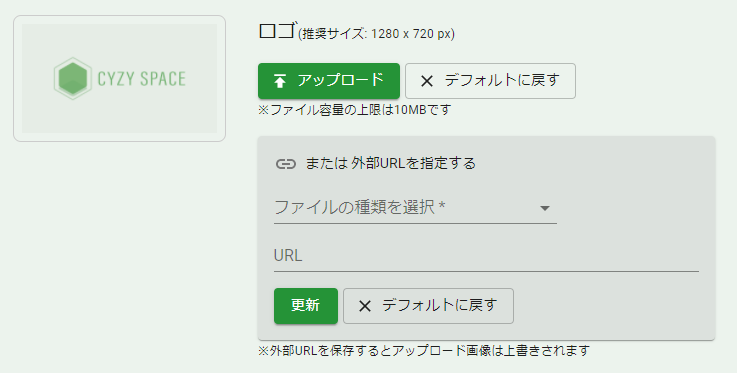
Upload a File
Upload the file to the CYZY SPACE dedicated server.
The data size is up to 10MB. Suitable for small file sizes.
For the size of each media, please refer to Space Design Template (Scene) Detailed Information List (PDF).
- Click the Upload button.
- A file selection dialog will be displayed, select any file.
- The following formats are supported, but only image files can be previewed in this window:
- png
- jpeg
- gif
- mov
- mp4
- The following formats are supported, but only image files can be previewed in this window:
Click Reset to Default to delete the uploaded image and display the standard image. Note that the reference settings will also be cleared.
Specify a Reference
Specify a file published on another web server. The file will not be uploaded to the server. Suitable for setting large files or streaming videos.
- Click Select File Type and select the format. The selectable formats are:
- Video (MP4)
- Web Page
- Enter the URL of the file.
- Example: https://example.com/movie.mp4
- Click Update.
Click Reset to Default to clear the reference settings. Note that the uploaded image will also be deleted.
The images and video files set above can be accessed by anyone as long as they know the URL.
Please be careful not to set files that should not be made public. If you want to share private files in a private room, we also offer plans to set up a dedicated server.
Also, some files, such as PDFs with complex functions, web pages, and videos, may not be displayed depending on the content and size of the file. Please upload and check the operation first.
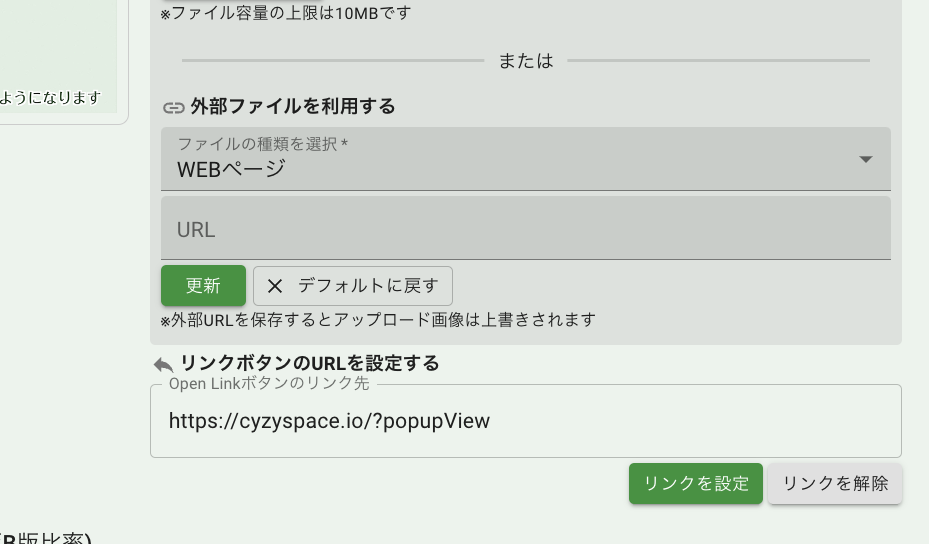
Specify a Link
For images with the "Set URL for Link Button" field on the image settings page, you can set a link button to display another page from within the VR space.
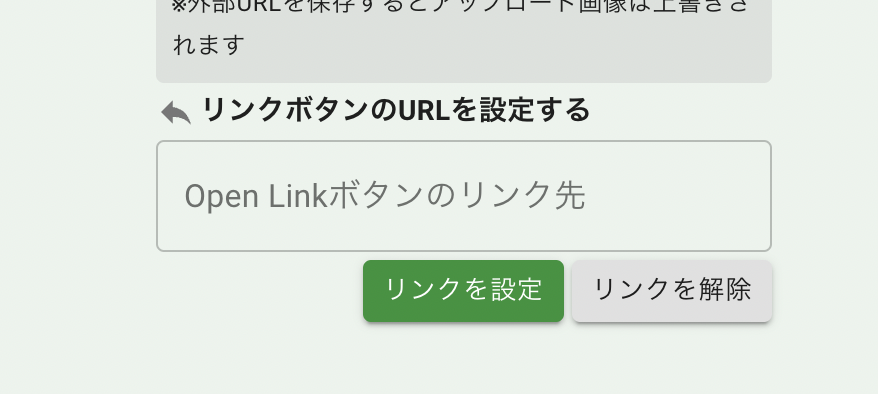
- Enter the URL of the link.
- Click Set Link.
The settings will be reflected in the following locations.
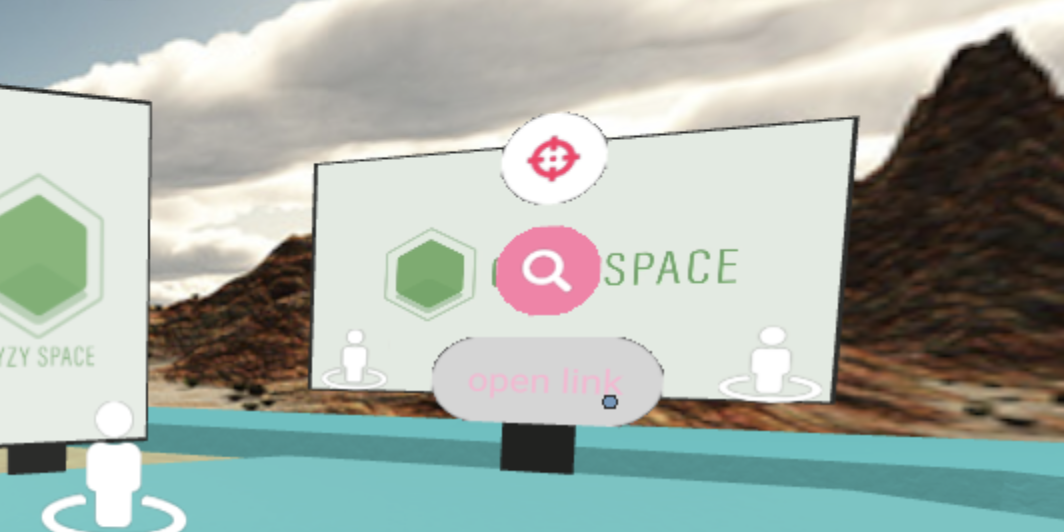
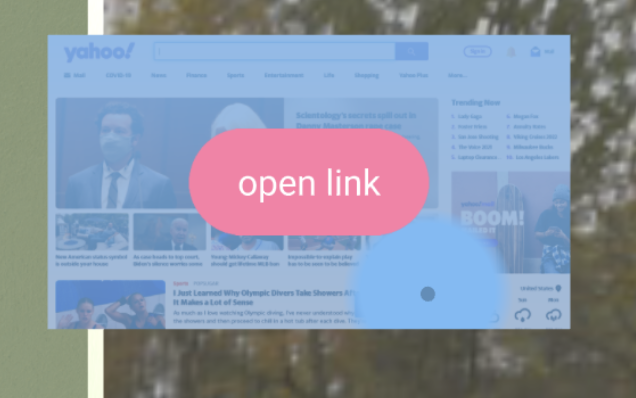
"Open Link" Button When Hovering Over the Cursor
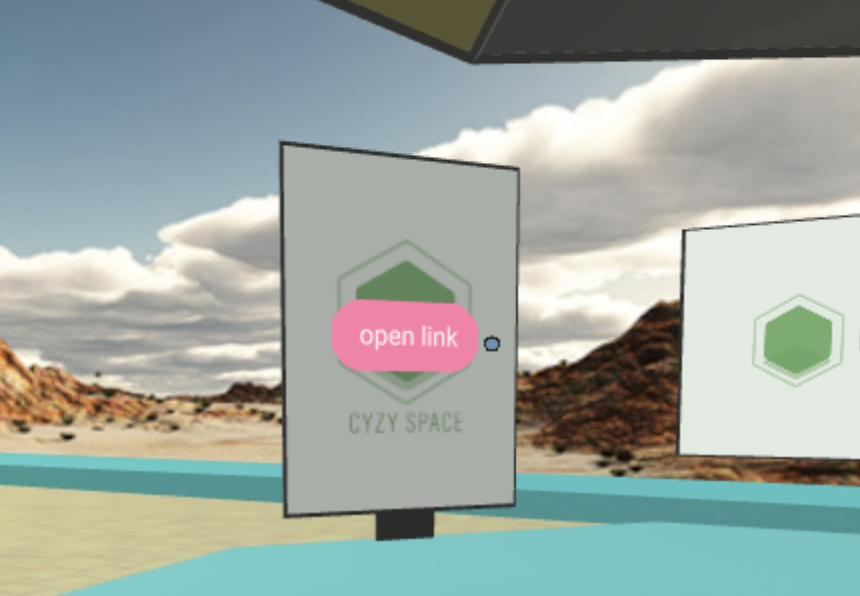 *Not displayed on panels displaying PDFs/videos.
Menu Displayed When Hovering While Pressing the Space Key
Displayed on smartphones when "double-tapped".
"Link" When Enlarging the Image/Video
If "popup blocking" is enabled in the user's browser, link movement by this function may not be possible. Please note that it is enabled by default on iPhone/iPad.
For more details, please refer to this guide.
(FAQ > I can't open the page by pressing the button labeled "Open Link" on iPhone)
Check in the Room
- The changes will be reflected in the actual room a few minutes after changing the settings.
- To confirm the reflection, you need to reload the browser or re-enter the room.
Large files such as videos and PDFs may not be reflected in the room immediately.
The above explanation is the method for setting images, etc., from the easy management screen of CYZY SPACE. If you want to display many images and links in the space, please refer to the following.
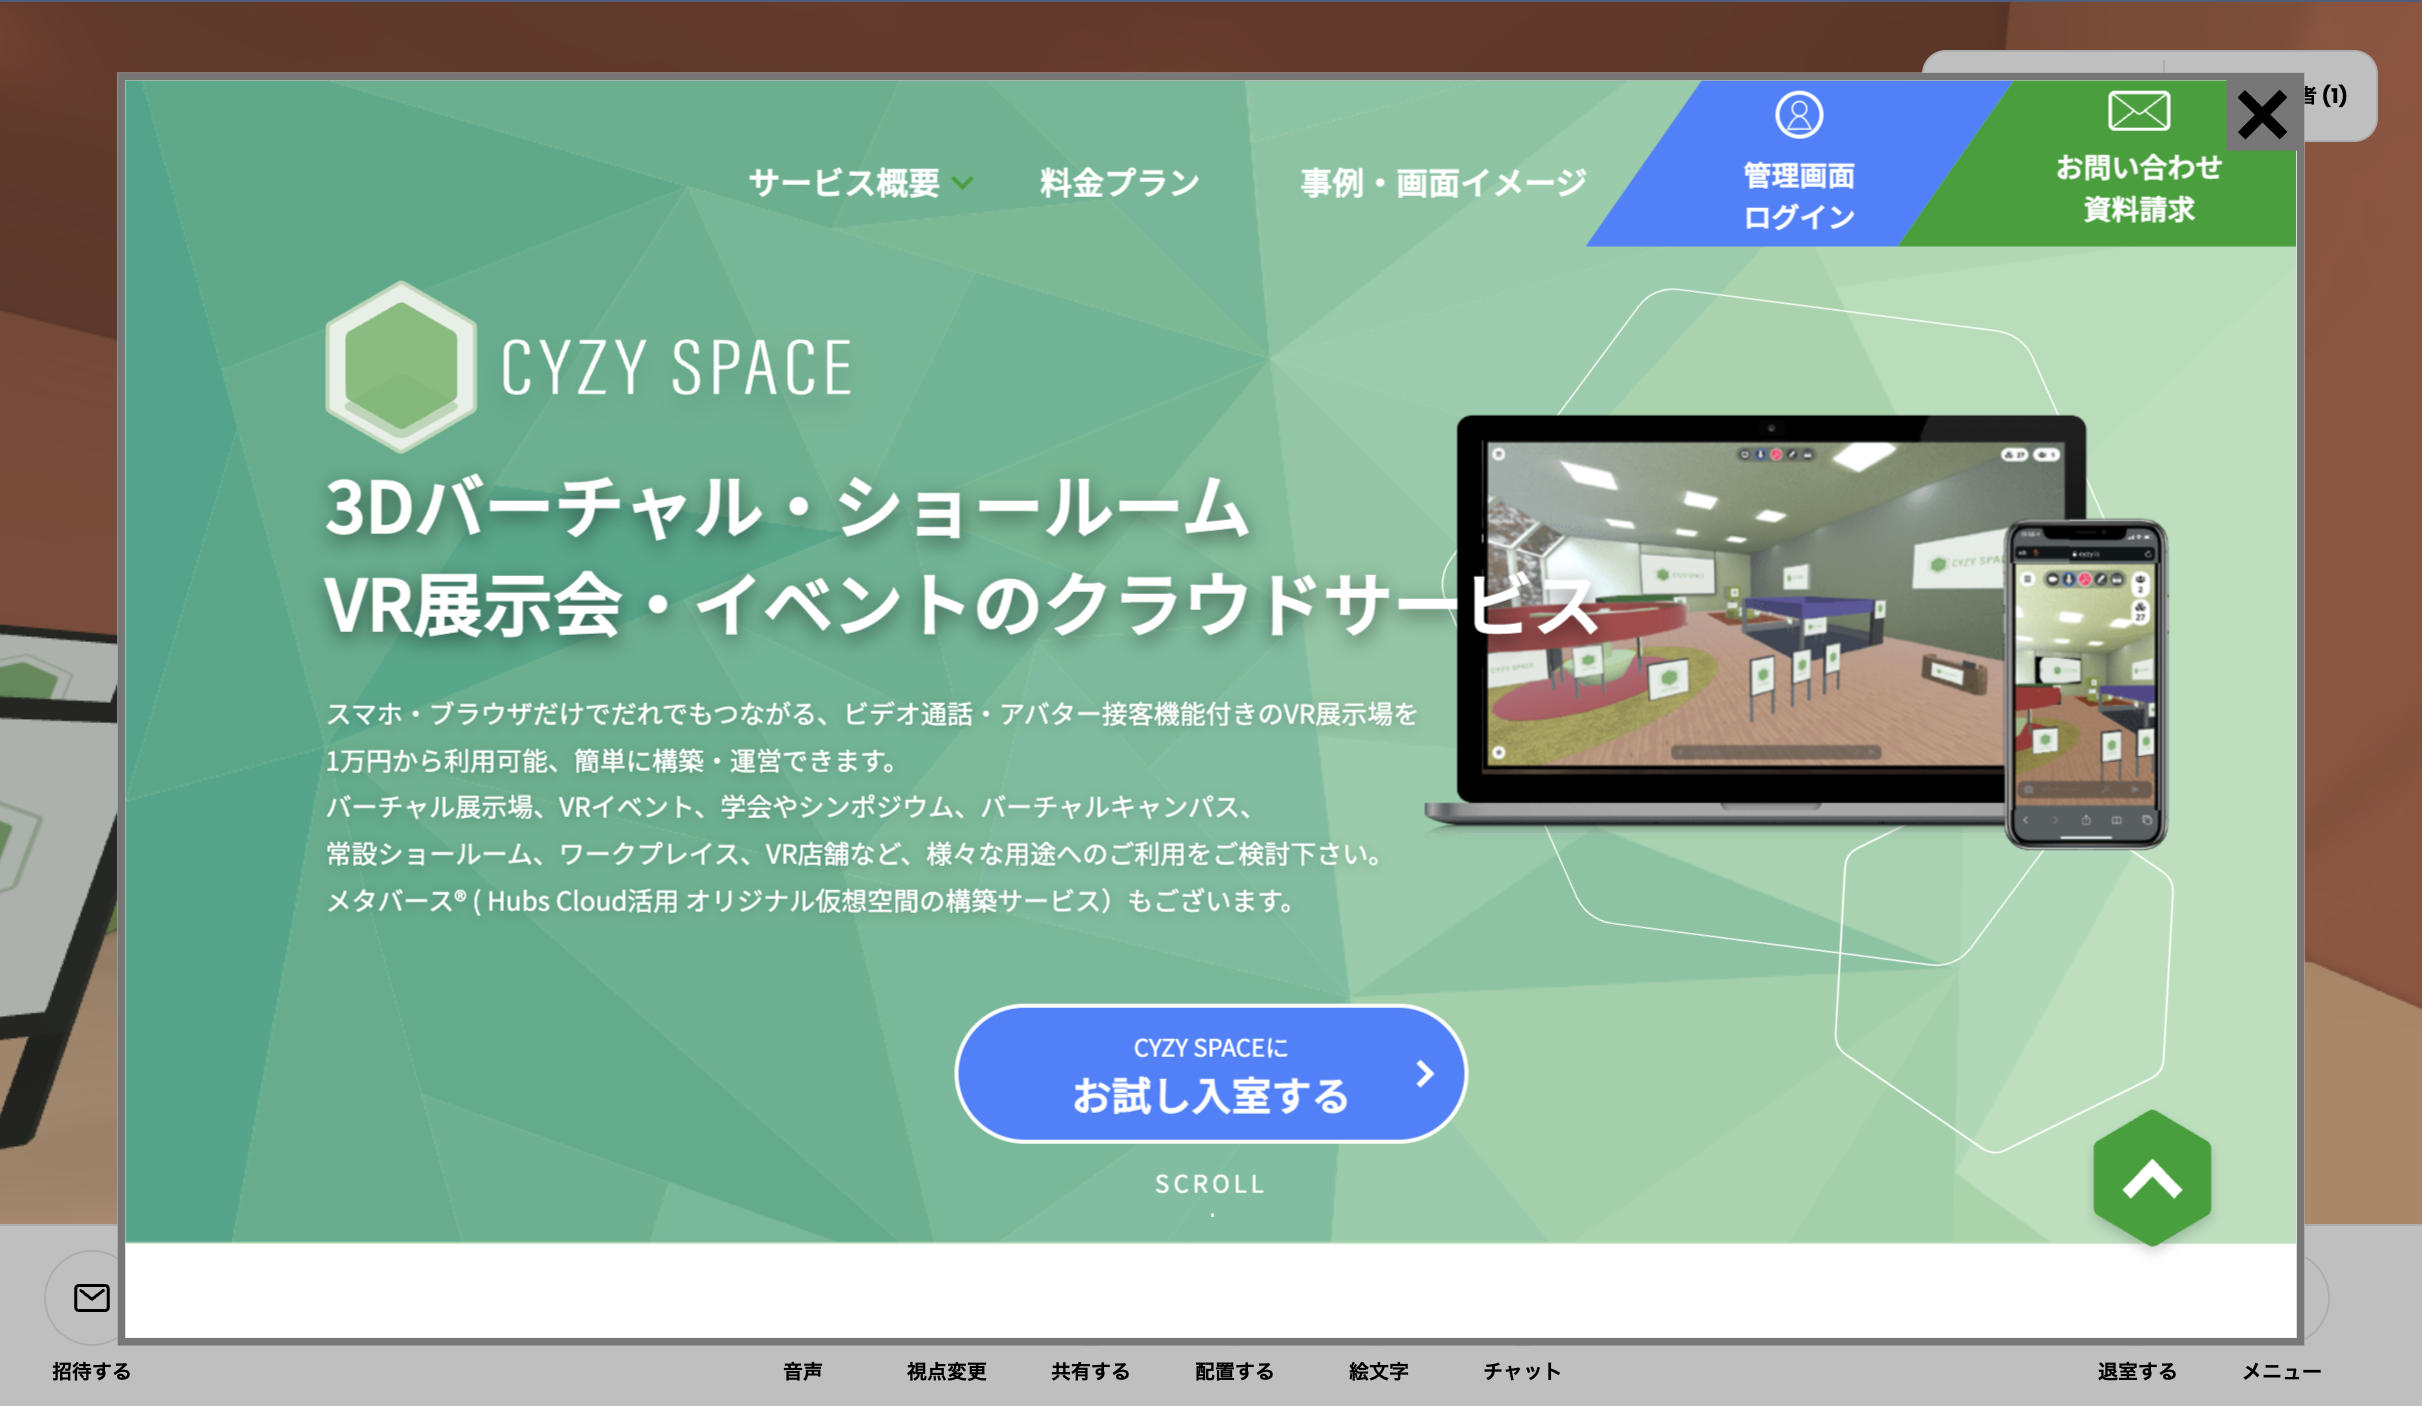
Display Links in a Popup
When clicking the "open link" button, the link URL can be displayed on the window displaying the VR space instead of a new window.
*In the basic plan, this function is available only for some domains.
- When setting "Use External File > Web Page" or "Set URL for Link Button", add the query parameter
popupViewto the URL.
You need to follow the general web formatting rules for adding query parameters to URLs.
[Example 1] Add ?popupView to a URL without query parameters
https://cyzyspace.io/ >> https://cyzyspace.io/?popupView
[Example 2] Add &popupView to a URL with existing query parameters
https://cyzyspace.io/?ref=vrspace >> https://cyzyspace.io/?ref=vrspace&popupView
- After setting, please check if the popup display works correctly.
*Depending on the displayed webpage (domain), especially security-focused sites and major platforms, popup display (iframe) from other sites may not be allowed. In that case, settings are required to allow iframe display from "cyzy.io" for the basic plan, or from your custom domain for the dedicated server plan, to the target webpage.
Some websites (especially security-focused sites and major platforms) may restrict iframe embedding in their server settings, in which case this function cannot be used.
Solution: Please ask the technical staff of the website you want to display to configure the following settings:
For Basic Plan:
- CSP:
Content-Security-Policy: frame-ancestors 'self' https://cyzy.io; - X-Frame-Options:
X-Frame-Options: ALLOW-FROM https://cyzy.io
For Dedicated Server Plan:
- CSP:
Content-Security-Policy: frame-ancestors 'self' https://your-domain.com; - X-Frame-Options:
X-Frame-Options: ALLOW-FROM https://your-domain.com
(Replace your-domain.com with your actual custom domain)
Configuration examples for major servers (setting both headers simultaneously):
Apache (.htaccess file):
Header always set Content-Security-Policy "frame-ancestors 'self' https://cyzy.io;"
Header always set X-Frame-Options "ALLOW-FROM https://cyzy.io"
Nginx (configuration file):
add_header Content-Security-Policy "frame-ancestors 'self' https://cyzy.io;";
add_header X-Frame-Options "ALLOW-FROM https://cyzy.io";
PHP (in script):
header('Content-Security-Policy: frame-ancestors \'self\' https://cyzy.io;');
header('X-Frame-Options: ALLOW-FROM https://cyzy.io');
After configuration, please check the response headers using browser developer tools to confirm the settings are correct.
How to Add and Display Image Objects in the VR Space
- Enter the VR space (as an avatar).
Objects cannot be added in viewing mode (lobby).
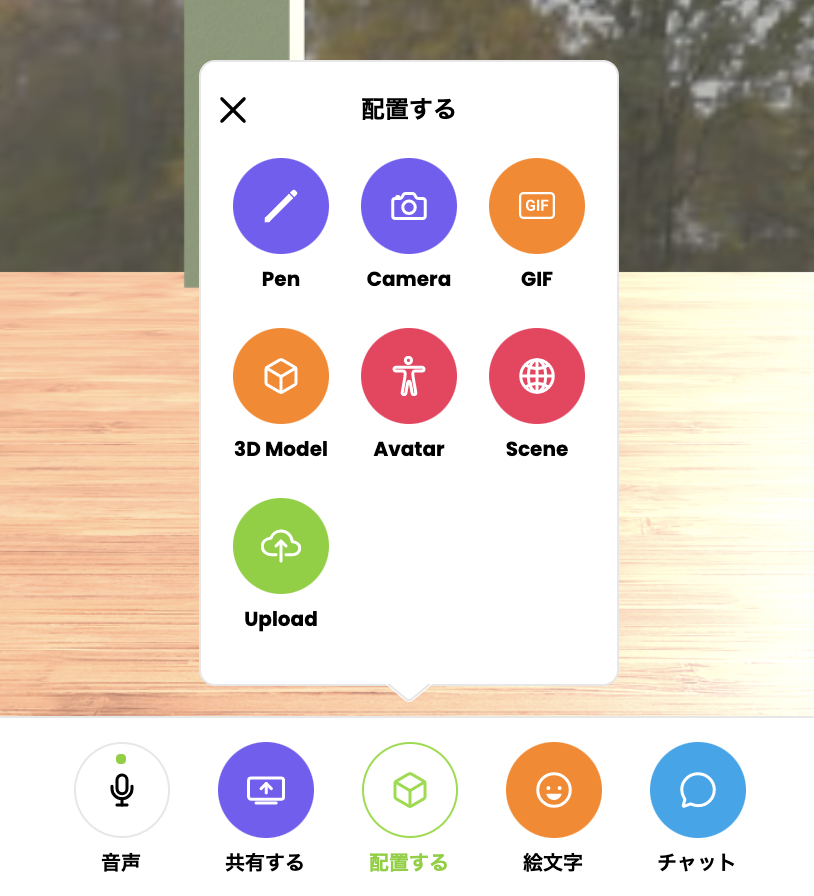
- Select "Place" at the bottom of the screen and choose "Upload" from the menu.
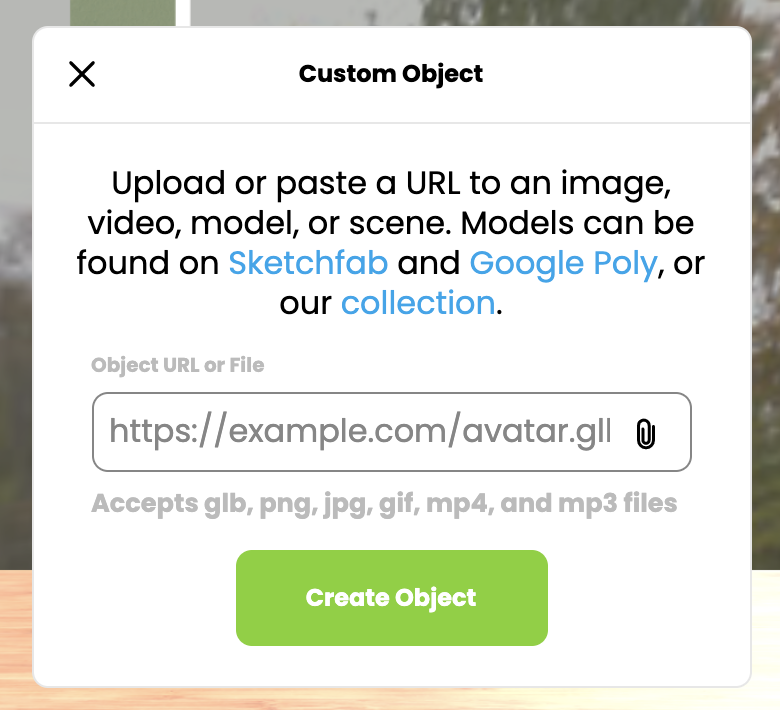
- In the screen that appears, upload a file or enter a link URL.
-
The object will be displayed, and you can move the object by dragging while moving the avatar.
-
When entering a URL, a button to open the URL link in the browser will be displayed when tapped.
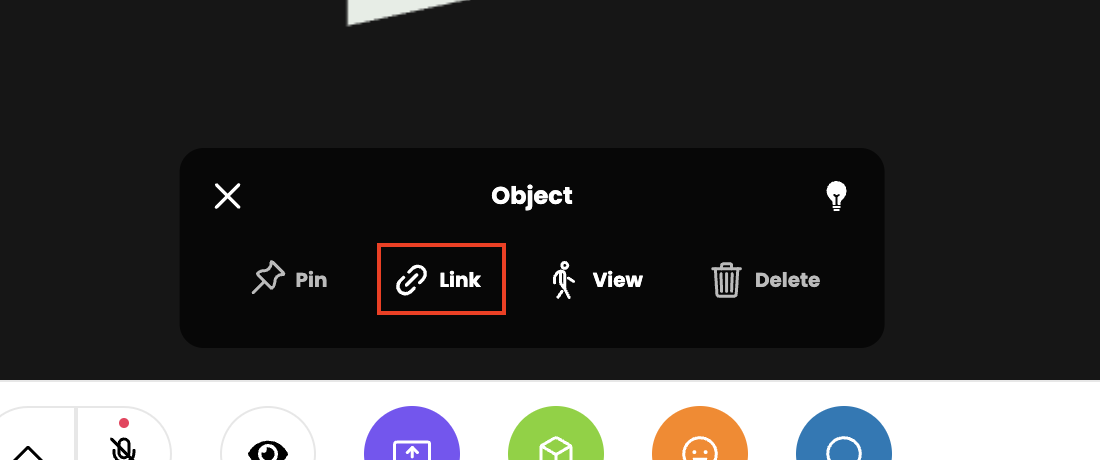
- Press the space key on the object to display the detailed operation menu.
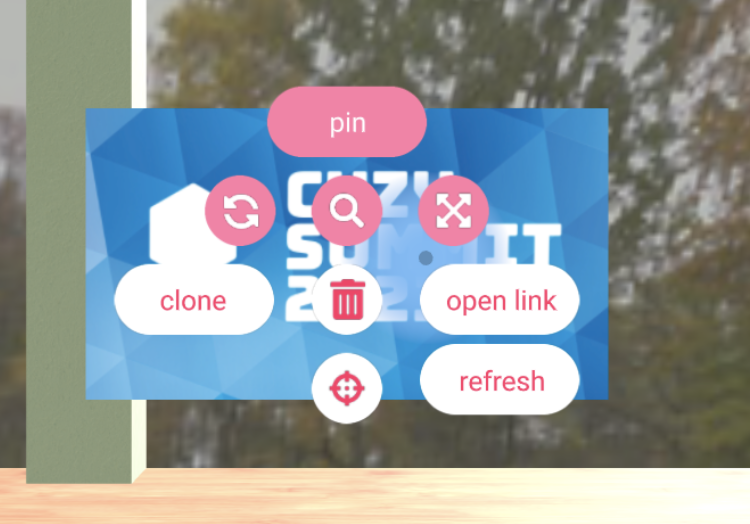
- You can resize and pin the image from the menu.
- Once the position and size of the object are determined, be sure to "pin" it.
If you do not pin it, the object will disappear after a certain period. (Pinning can only be done by users logged in with an email address.)
The Sketchfab integration feature is standard in the open-source system, so we do not guarantee the operation of the objects used. Please use it at your own risk.