Rich Menu Settings
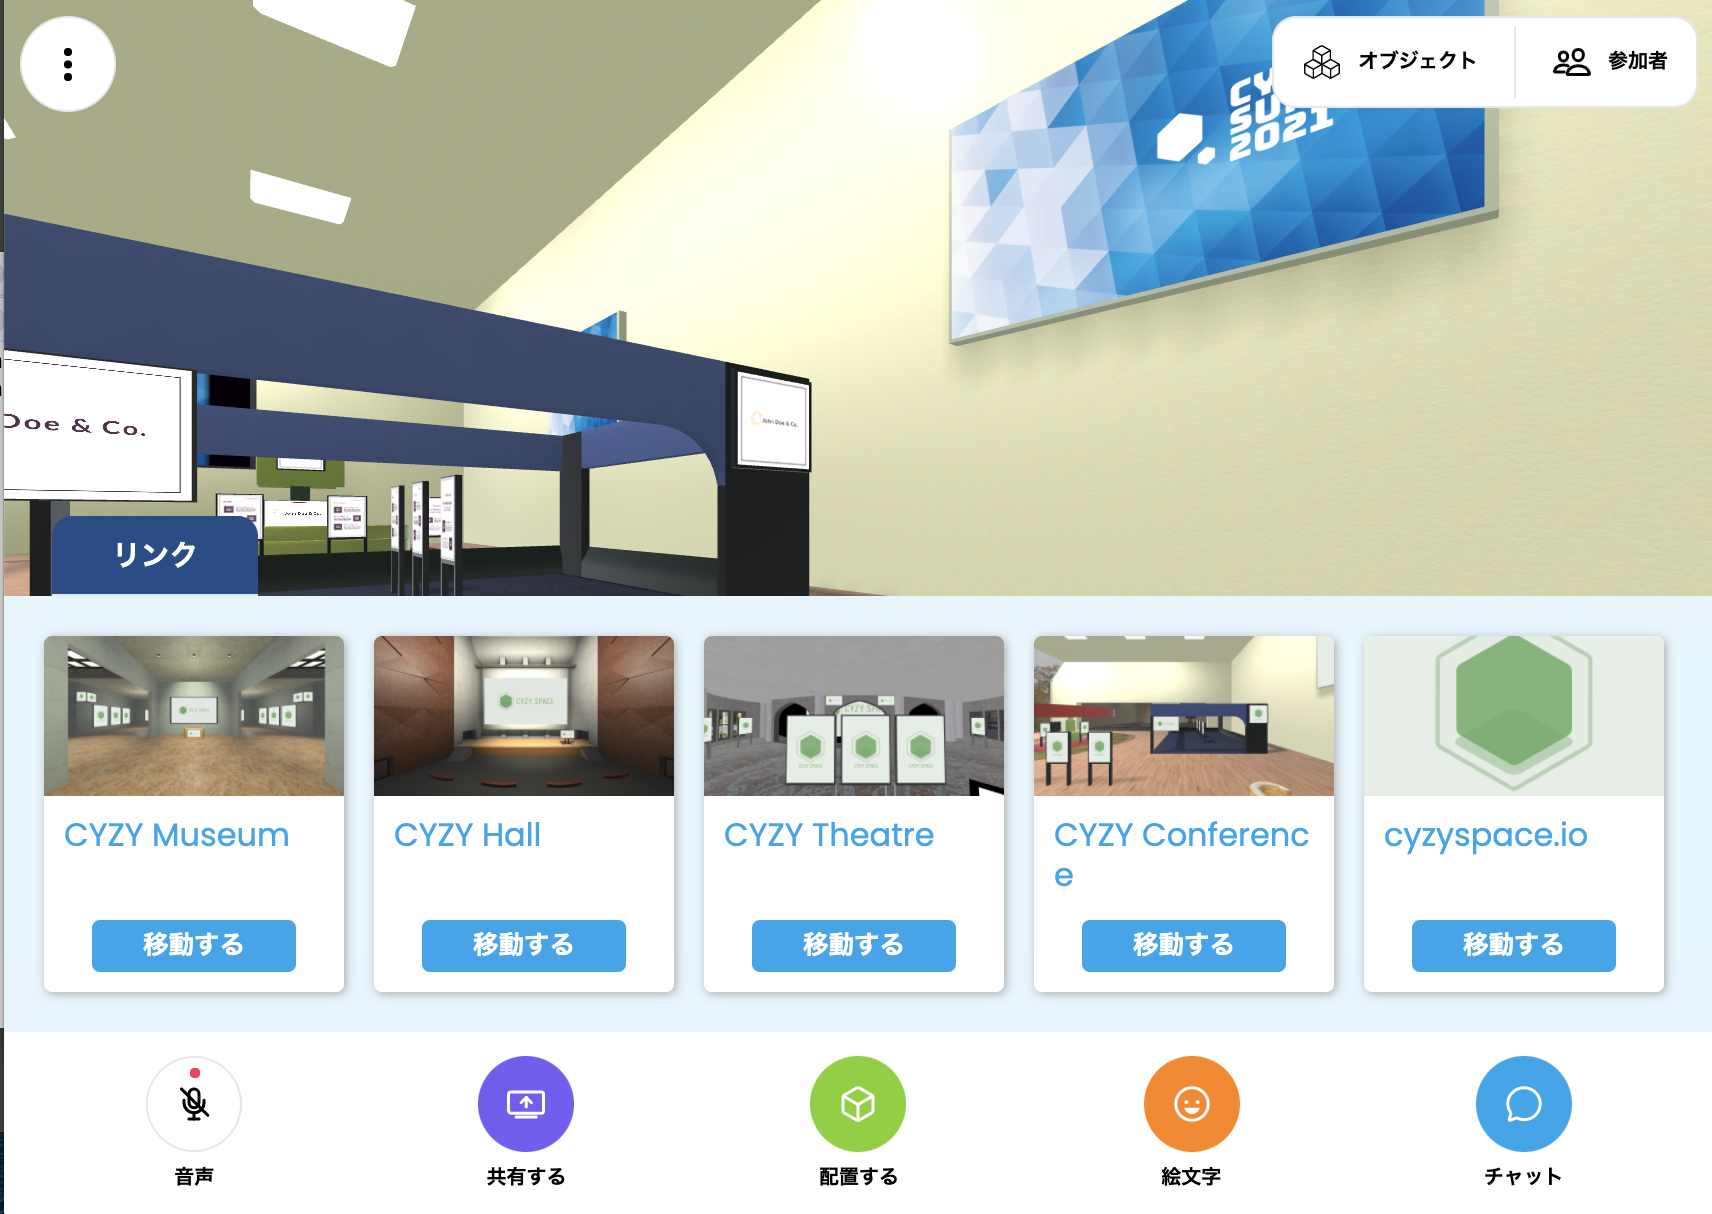
In CYZY SPACE, you can display a link menu with images called Rich Menu in the bottom UI of the VR screen for each room.
Open the Settings Screen
- Select Dashboard from the menu on the right.
- Click View Detailed Settings for the room you want to change.
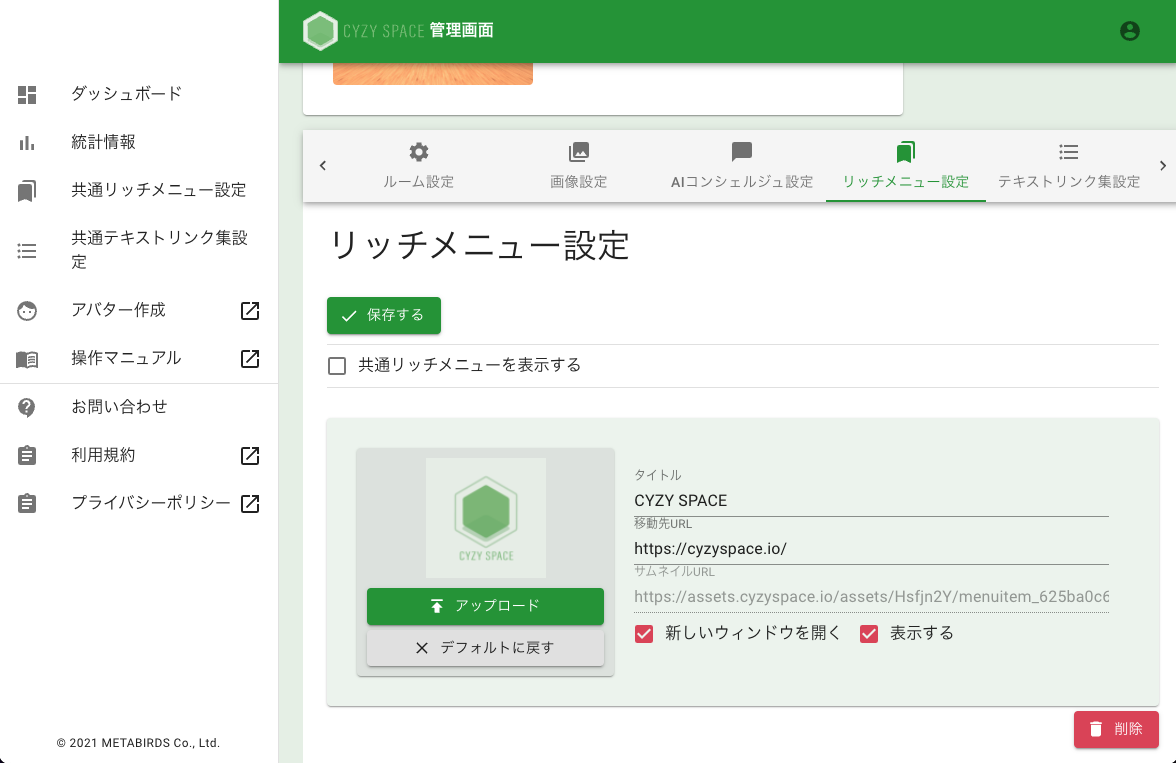
- Select the Rich Menu Settings tab.
- The settings will be displayed.
Create a Rich Menu
-
Press the + Add button.
-
Enter the title text to be displayed in the menu in the Title field and the URL of the link in the Destination URL field.
-
If necessary, check Open in a new window.
-
If it is okay to make it public, check Display.
-
Upload any image from the Upload button on the left.
After changing the settings, you need to press the Save button.
Create a Shared Rich Menu
You can create a "Shared Rich Menu" that can be used in multiple rooms.
- Select the Rich Menu Settings tab for the room you want to set.
- Check Display Shared Rich Menu.
- Click Save.
- Select Shared Rich Menu Settings from the menu on the right.
- Set the shared rich menu in the same way as described in "Create a Rich Menu" above.
When Display Shared Rich Menu is enabled, the individually set rich menu content for each room will not be displayed.
Confirm After Setting
After changing the settings, when you enter the room, a "Link" tab for displaying the rich menu will be displayed at the bottom left of the screen.
It may take 2 to 10 minutes for the changes to be reflected.
Display Number of Room Users (For Dedicated Server Users)
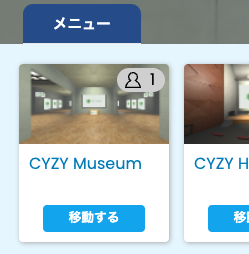
When you set the room URL of the same server in the rich menu, you can display the number of room users. (This feature is limited to customers who have subscribed to the dedicated server plan.)
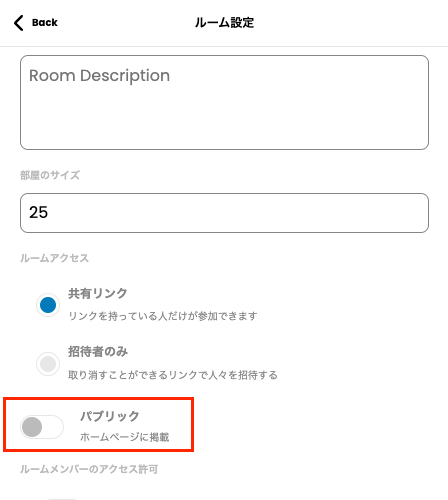
- Sign in to the VR server with the email address used to create the room.
- Enter the room you want to set and turn on Public in the Options.
- Add the room set to Public to the rich menu.